Odds & Ends
 Parts & Labor Expo
 Biltwell 100
 People's Champ
 Born-Free
 Auction
 NorthWest Motofest
 Gypsy Run
 Kernville Kampout
 WTF Blog
 P&L Magazine
 P&L Podcast
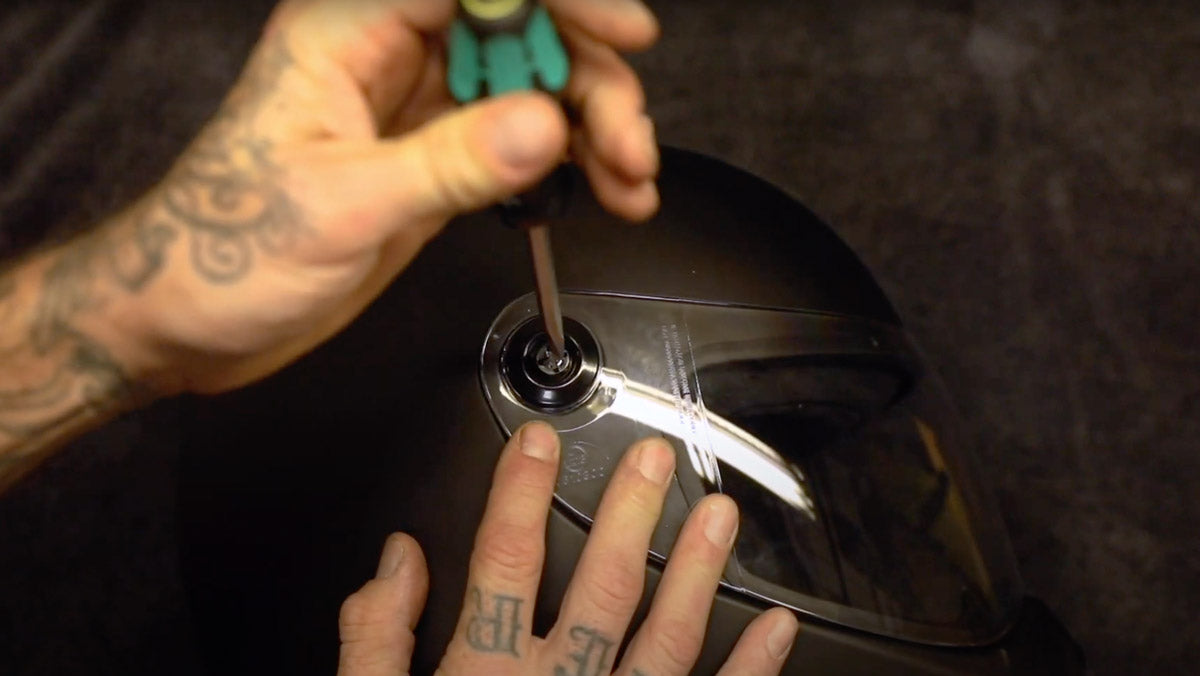
Last year we introduced a new shield design for Gringo S and Lane Splitter helmets. Biltwell Gen 2 shields feature more robust hinge hardware and fewer moving parts to improve shield function and hinge durability. Of course, these Gen 2 shields retrofit quickly and easily on your Gringo S or Lane Splitter, even models that feature Gen 1 technology. To make the upgrade all you need is the correct Gen 2 shield for your helmet and a straight-slot screwdriver.
 1. Use a screwdriver to carefully loosen the screws that hold the aluminum washers on both sides of the shield. Remove the shield by flexing both sides away from the helmet’s outer shell. Set the screws and aluminum washers to the side—you’ll re-use them when you install the Gen 2 shield.
 2. Carefully remove the Gen 1 shield hinge base plates (A) that are attached to the helmet with your fingernail or a small screwdriver. If any adhesive residue is visible on or around the brass inserts, clean the area with a wet cloth and soapy water. Do not use aerosol or petroleum-based chemicals to clean the surface of
your helmet.
 3. Install one base plate (B) and hinge plate (C) supplied with your Gen 2 shield on one side of helmet as shown. Make sure the pin (D) on the inside of hinge plate engages completely with the hole in the base plate (E). Repeat this step with remaining hinge components on the other side of helmet.
 4. Hold one side of Gen 2 shield (F) against hinge plate assembly (G),
making sure the shield’s two molded pins (H) are correctly aligned inside their
corresponding curved slots. Install one aluminum washer as shown, making sure the two tabs (J) are correctly engaged against the hinge plate assembly. Hold the shield and washer in place and proceed to Step 5.
 5. Put a drop of blue Loc-Tite or similar medium-strength thread compound on one screw and carefully thread it into the brass insert on the side of the helmet. Use a screwdriver to tighten the screw against the aluminum washer.
DO NOT OVER-TIGHTEN. Repeat Steps 4 and 5 for the remaining side of the Gen 2 shield.